A good client contacted me recently. He needed a ceiling for his new office in Deception Bay. We had a discussion about the requirements for this particular ceiling. The office will have a lot of phone calls and meetings taking place on a daily basis. Henceforth, an acoustic tile ceiling is the most logical solution. However, the budget is always a factor during fit-outs.
The build products
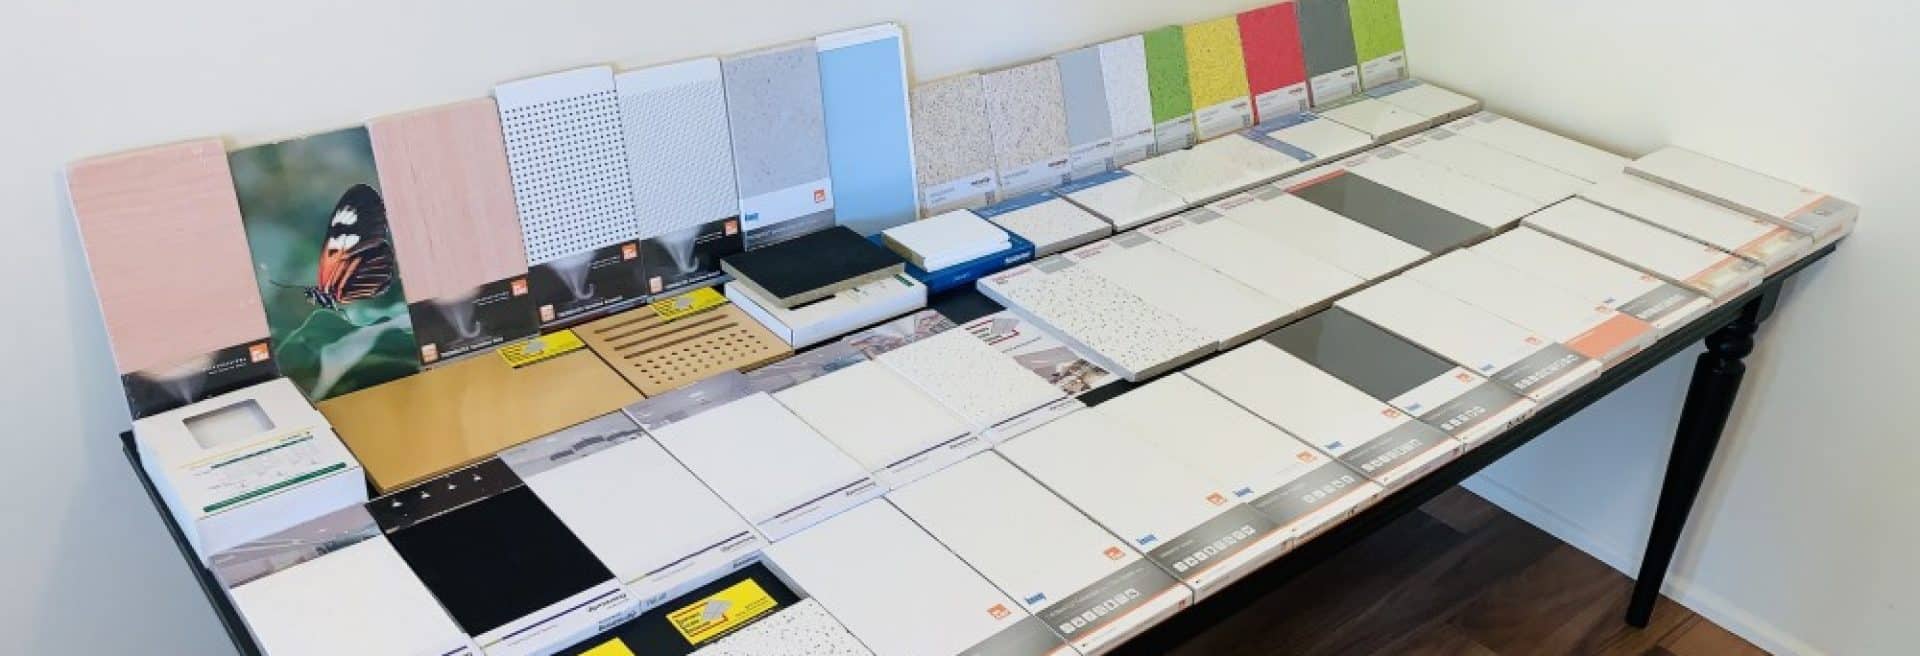
USG/Boral suspension grid is the grid of choice here for this suspended ceiling in Deception Bay. We selected USG/Boral Impressions acoustic mineral fibre tiles for the ceiling panels. Impressions tiles have a subtle fissure pattern and deliver good acoustic performance. In addition, impressions tiles about as cost-effective as it gets.
How I built it the suspended ceiling in Deception Bay
Firstly, I square the room up and set the grid out based on the internal walls. Secondly, I set the laser up to transfer these measurements up to the purlins. Then, I double screw Rondo 274 brackets with self-drilling hex head screws. Having the second screw there ensures integrity should one of the screws fail. I use galvanised rod to suspend the main bars with a spring hook hangar on the bottom.
Secondly, for the perimeter on our suspended ceiling in Deception Bay, I use a white metal L wall angle. I change screws based on the substrate for each wall. I set up a squaring laser to keep the grid square. Thirdly, I set up my rotating laser to keep the ceiling level. This enables me to build the new ceiling to a tight set of tolerances. On new ceilings plus or minus 1mm tolerance is achievable with the right levelling tools. Next, we install all the main bars and cross runners to the lines provided by the lasers. Finally, tiles are cut then installed.


